Panoramic Portraits
/Today I'm bringing you photographer friends a fun tutorial! I rarely share these type of images, but whenever I do I get asked how I created panoramas with such shallow depth of field! This method was dubbed the "Brenizer Method" after photographer Ryan Brenizer made it popular, but many, many photographers have used this technique in similar ways over the years. So here's how it's done!

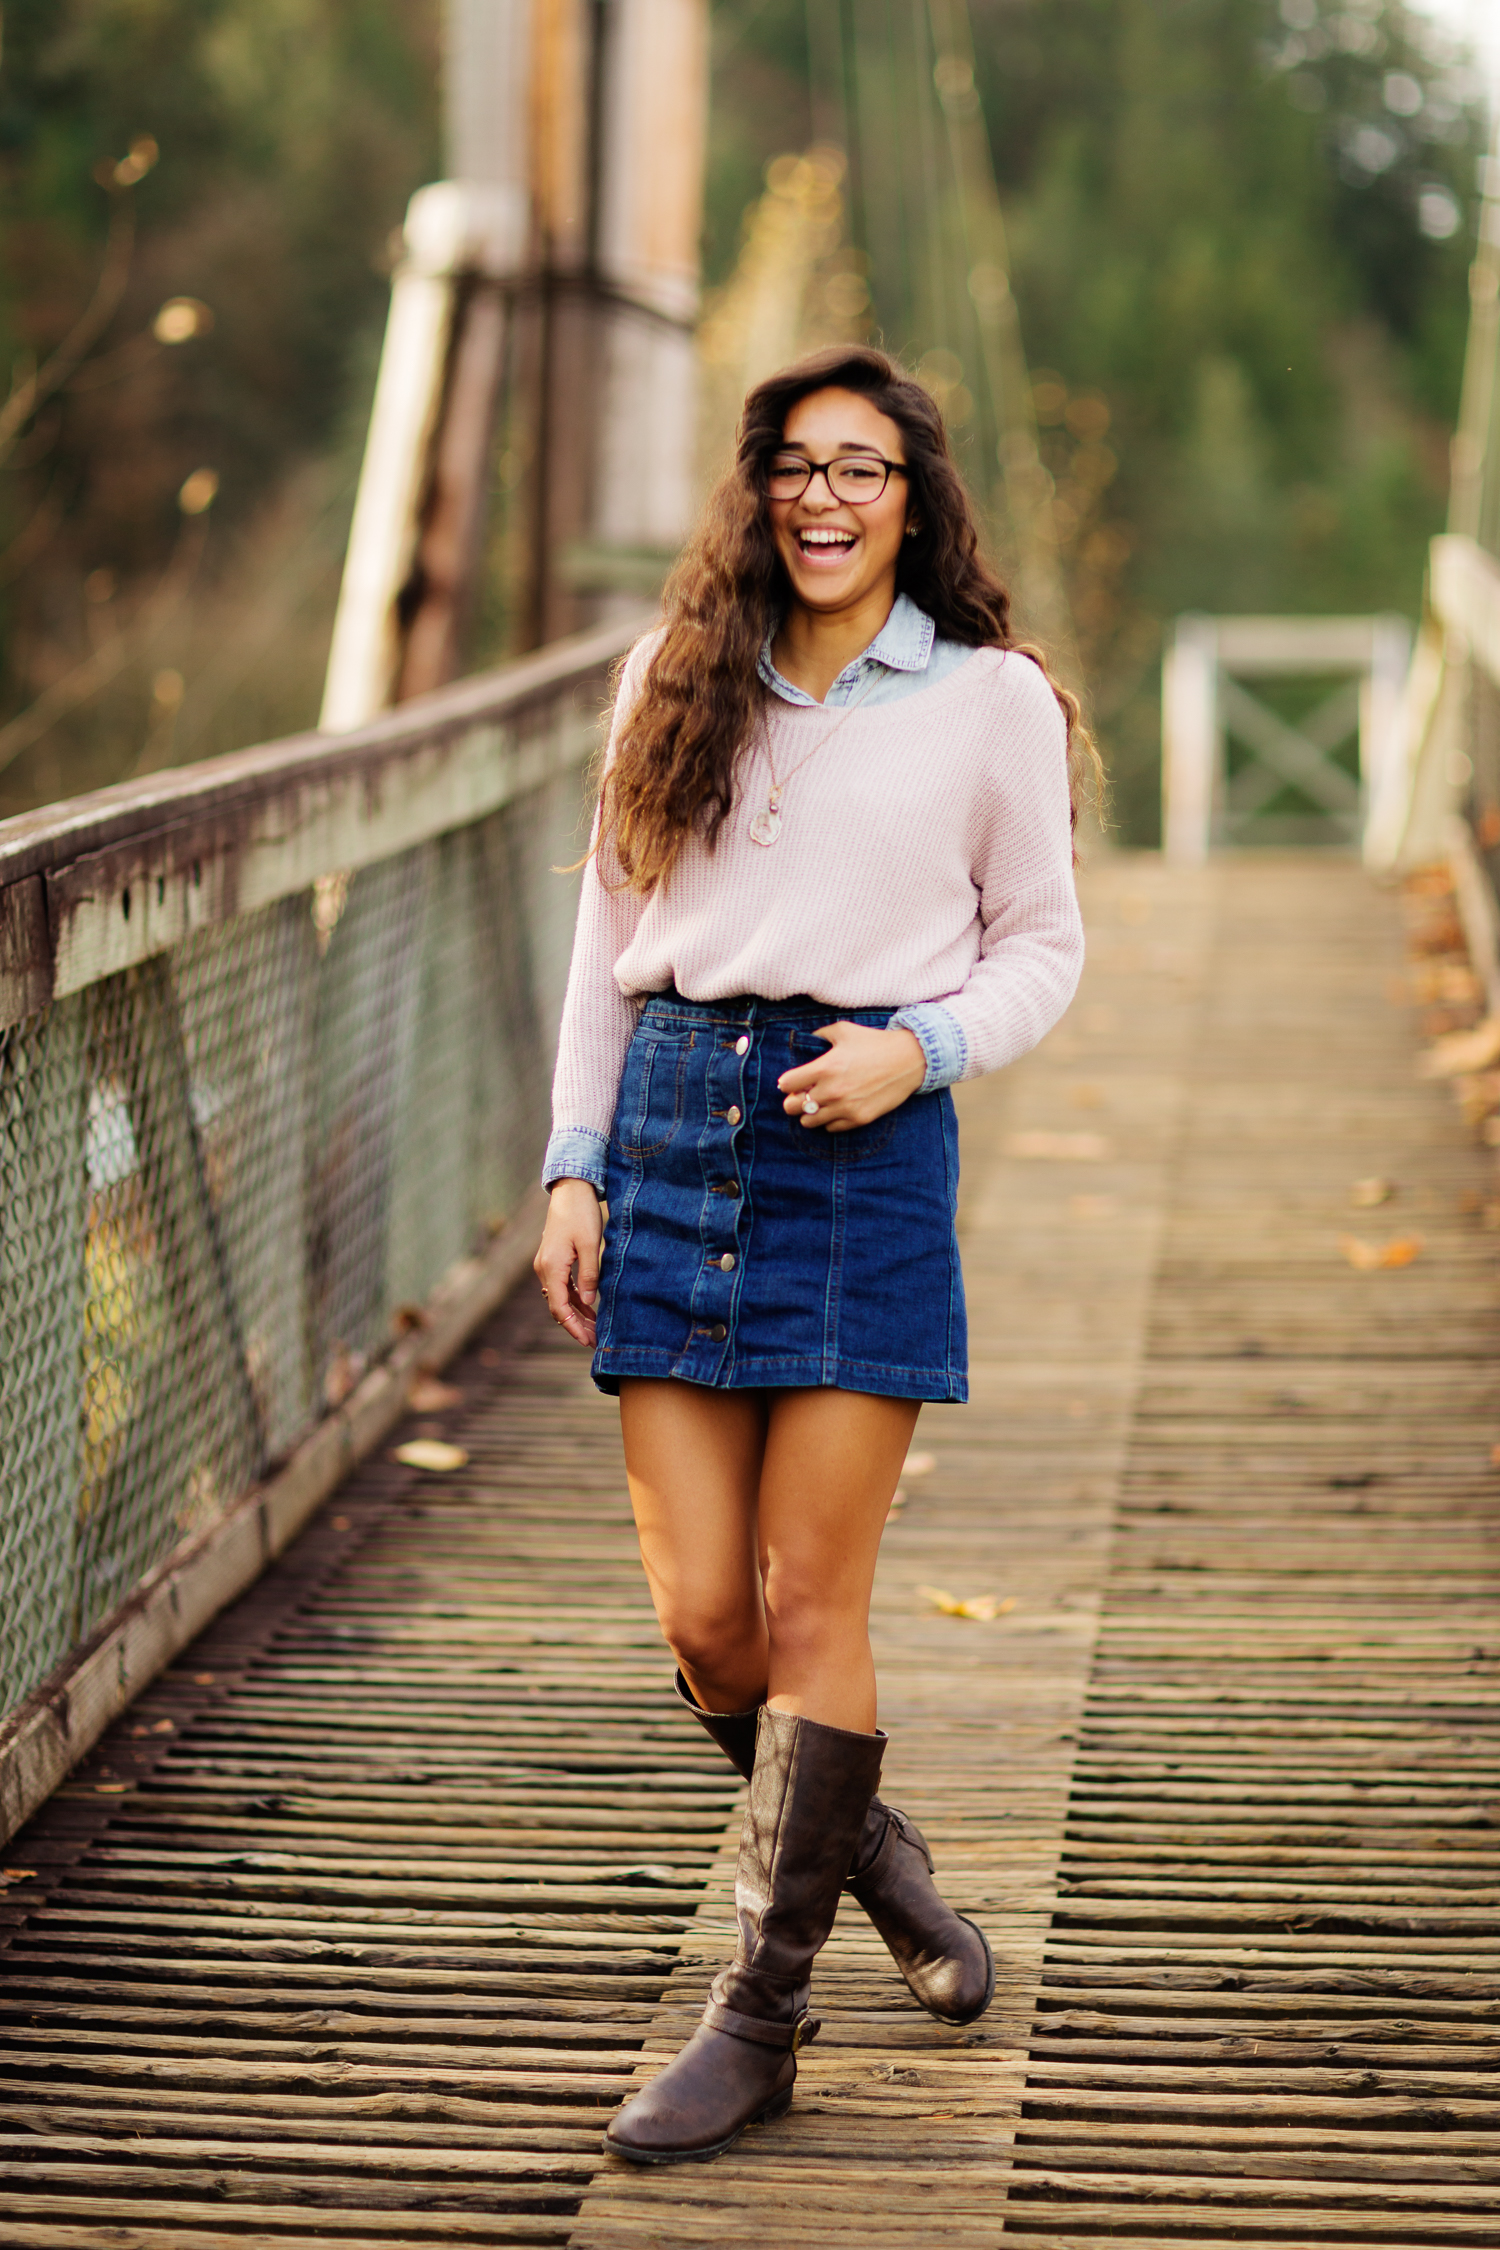
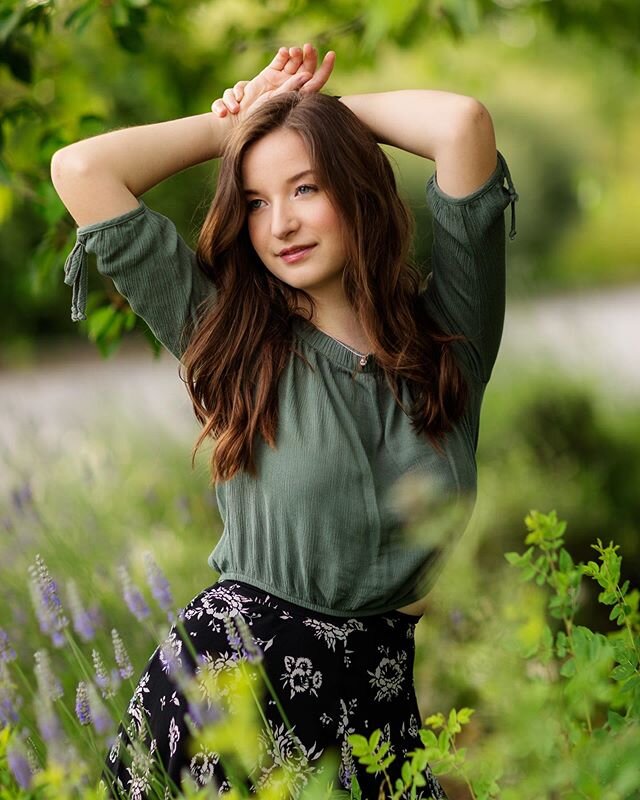
Canon 135mm @f2.2, 1/1600, ISO 400, (14 images stitched together)
1. Set your aperture as wide open as it will go! This is how you get that magical shallow depth!
2. Pick an amazing scene! If you are going to do all the work to create a panorama, the scene better be worth it! I like to pick a scene like the one below that has lots of layers to show off the depth - branches hanging in the front and back, tall grasses at the front of the image etc.

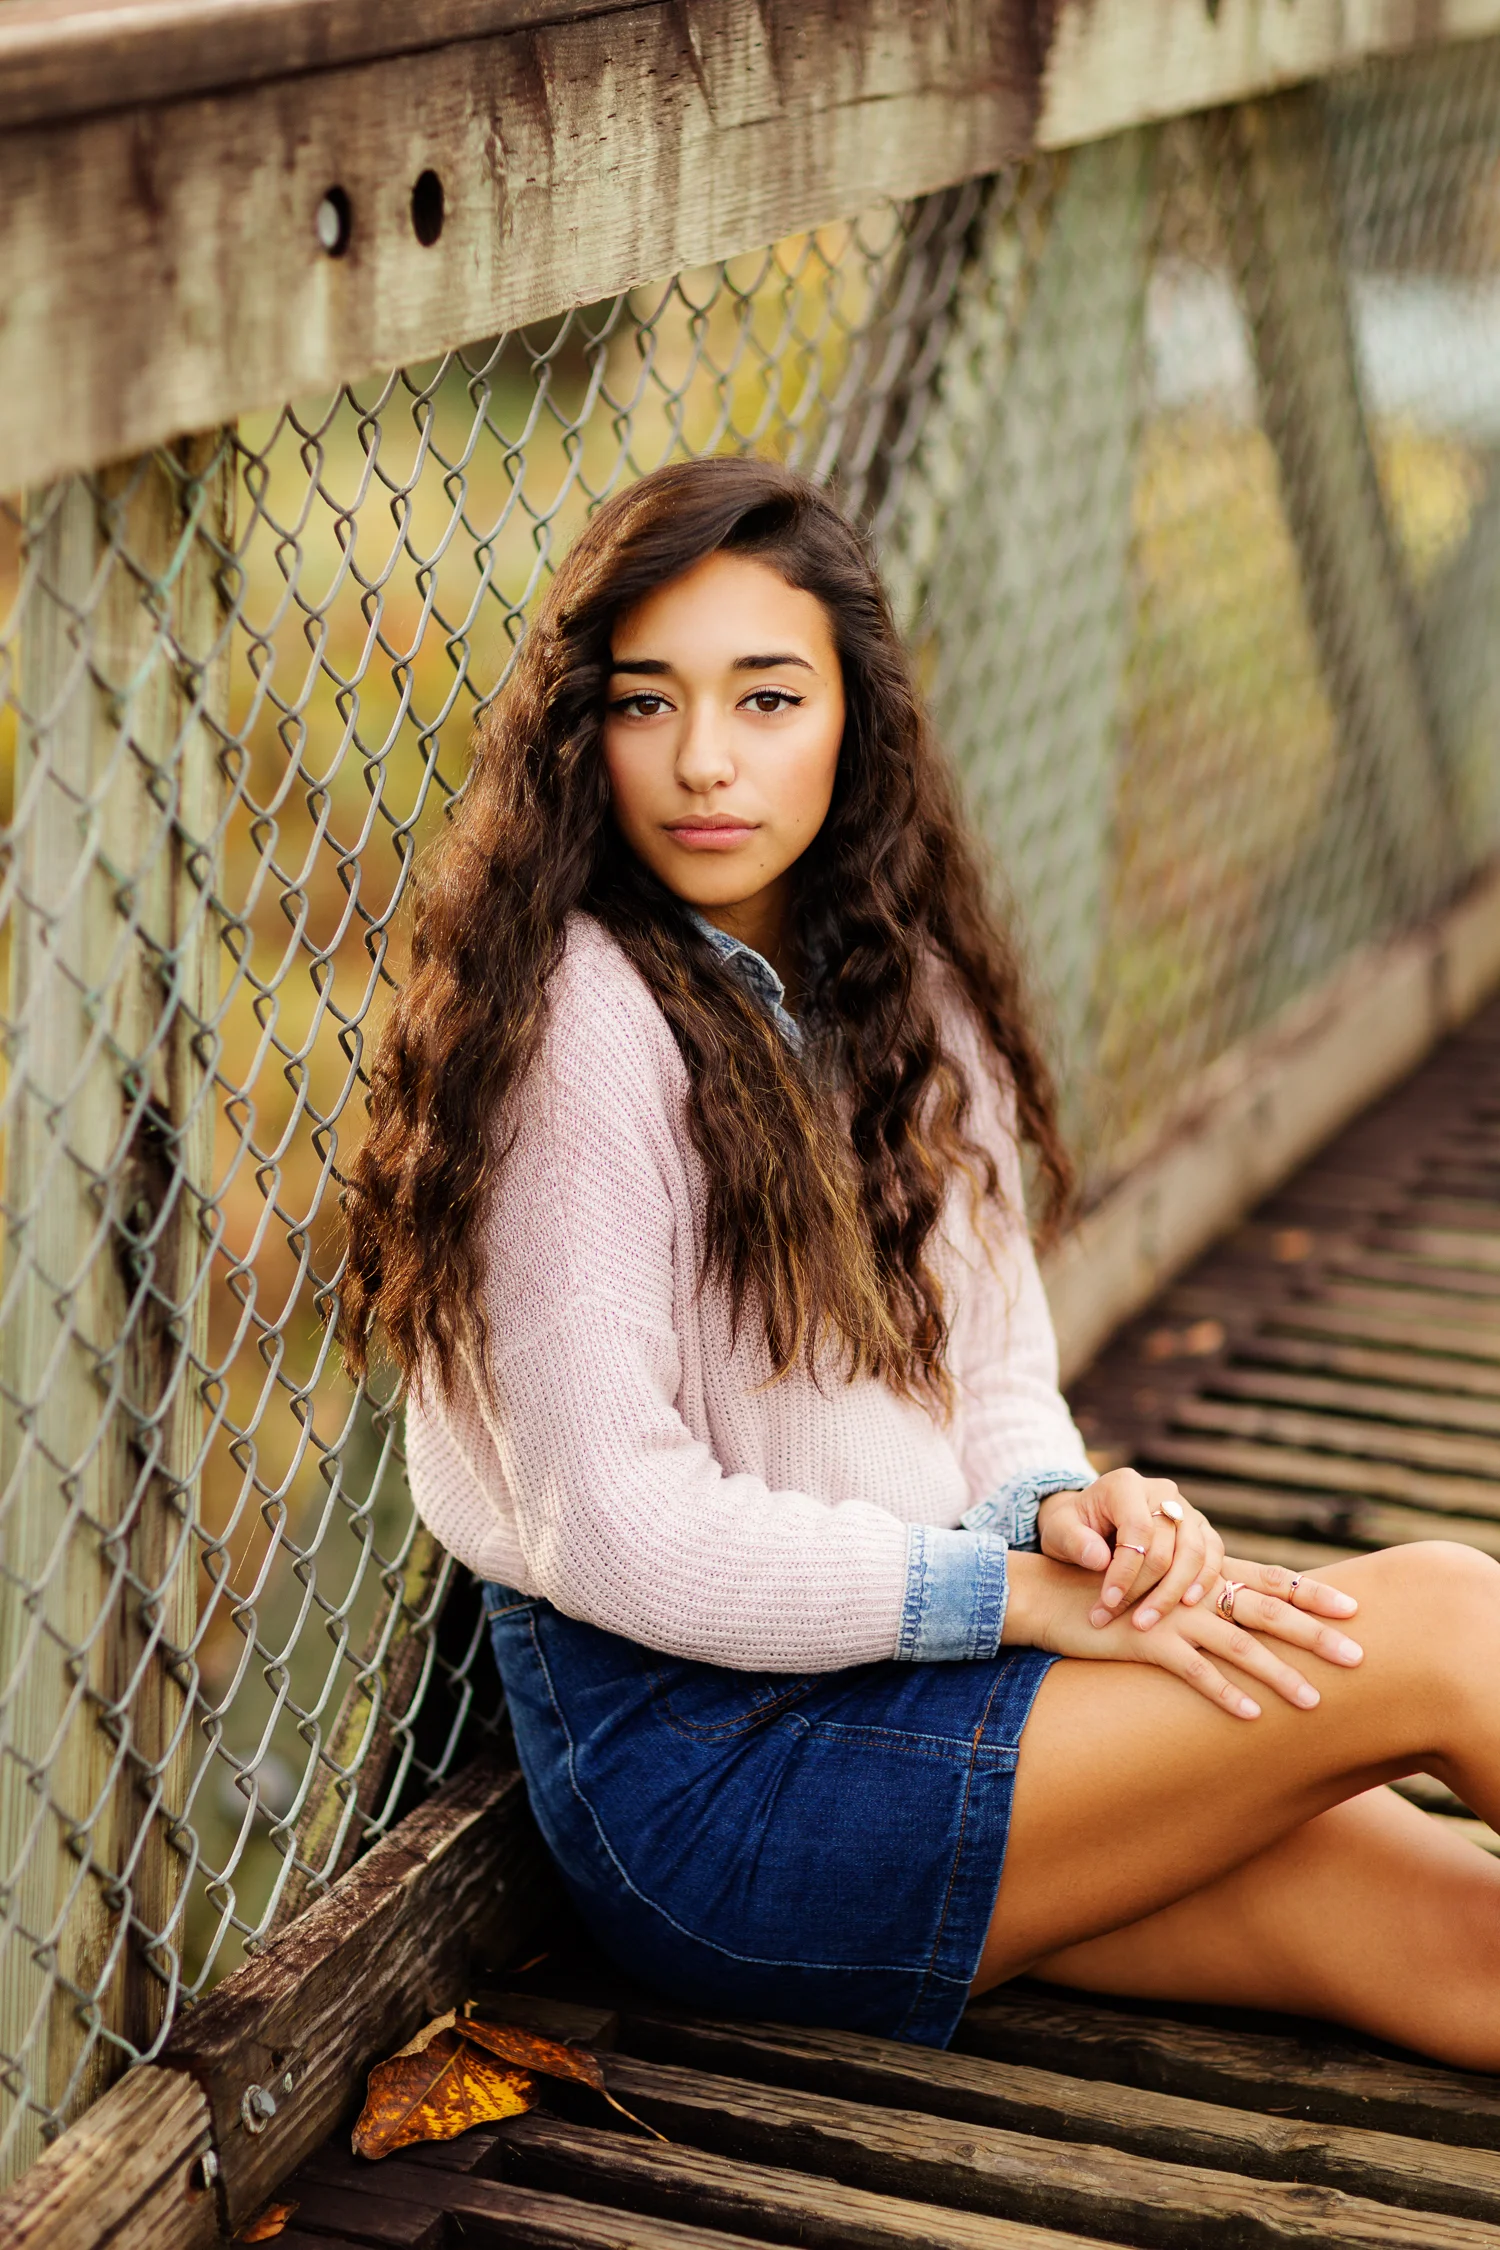
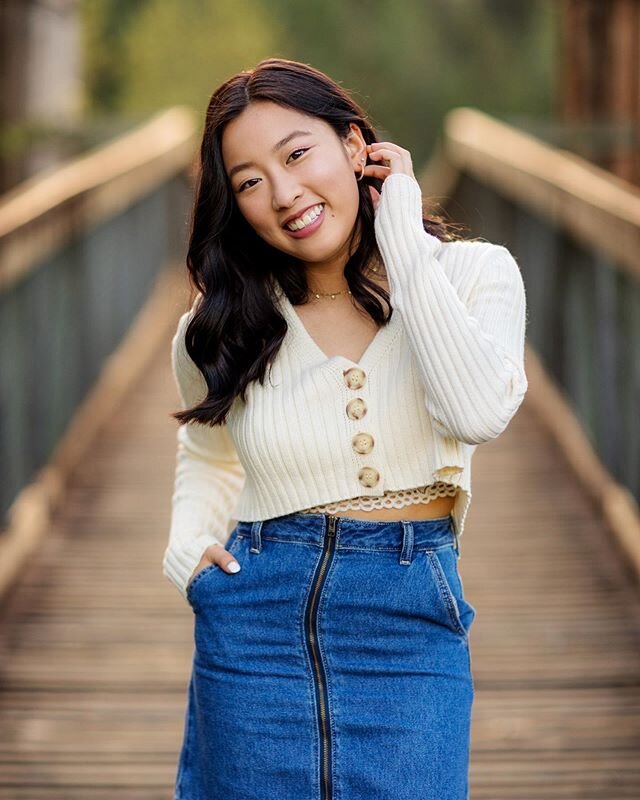
Canon 85mm 1.2, @F1.6, 1/1250, ISO 250 (30 images stitched together)
3. Make sure the scene doesn't have sun flare coming into the shot that will cause a haze or any artifacts that may move across the image as you create the panorama. Soft, even light is best!
4. Frame your human subject in the center of your first shot. Focus on your subject and lock your focus and exposure. If you shoot in Manual, you'll have no problem, but if you shoot in Aperture priority you will have to lock the exposure. You want each image in the set to have the exact same settings!
5. Once you've taken the first shot of your model, continue taking images of the rest of the scene, overlapping them by one third. There must be some overlap for your software to recognize which images go together. Make sure NOT to change any of your settings OR to re-focus! You want the focal plane to stay the same between shots! It's best to shoot them in a sequential pattern - I prefer left to right, top to bottom. Your panorama can be as small as three images or larger than 30! Mine average 15 because I like to shoot three rows of 4 or 5. Make sure to capture a bit more of the scene than you think - you will need to crop the uneven edges later
6. Once you've downloaded your images, take them into Lightroom and synchronize your edit across all of the images. Make sure to turn on profile corrections to get rid of any edge distortion or vignetting. Export these images as smaller Jpeg files. Photoshop or Lightroom will freeze up if you try to stitch together too many RAW images. For a 30 image panorama sometimes I will export at a mere 6 inches wide. Since your final image is made up of all the images combined, it will be plenty large enough to print. The more images you have in your panorama, the smaller you will want to export your jpegs.

7. To stitch together your panorama, select all of the Jpeg images in Lightroom and click "Merge to Panorama". It may take a while to stitch them together, but once it is done, your final image should be ready! You will need to crop the image and possibly use your spot healing tool to fix any seams where the image may not have stitched smoothly. This one stitched together perfectly though! If you don't have Lightroom you can also open your files in Photoshop and find the option for stitching them into a panorama.

That's it! I hope you enjoyed learning how I create my panoramic portraits! If you want to see more tutorials and a list of the gear I use, hop over to my "For Photographers" page HERE.

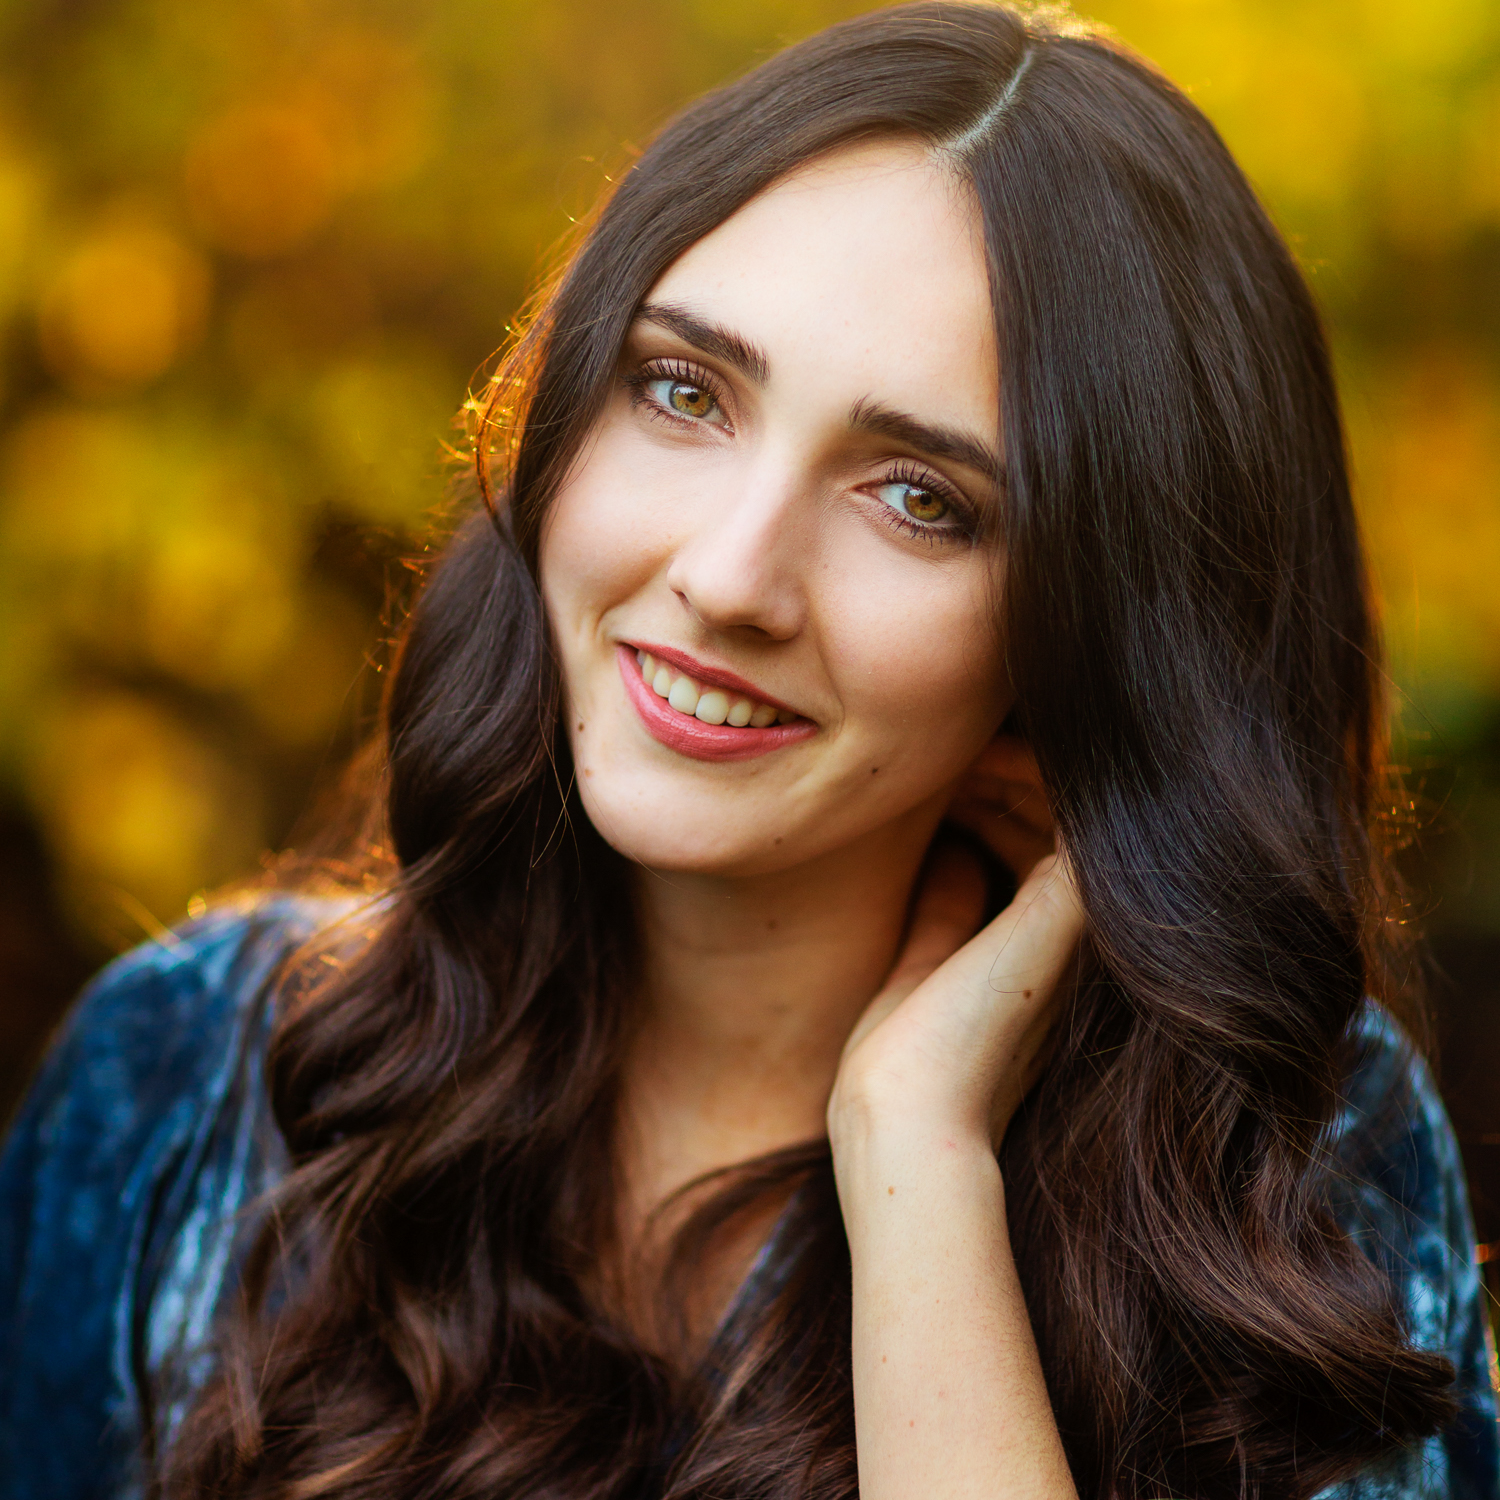
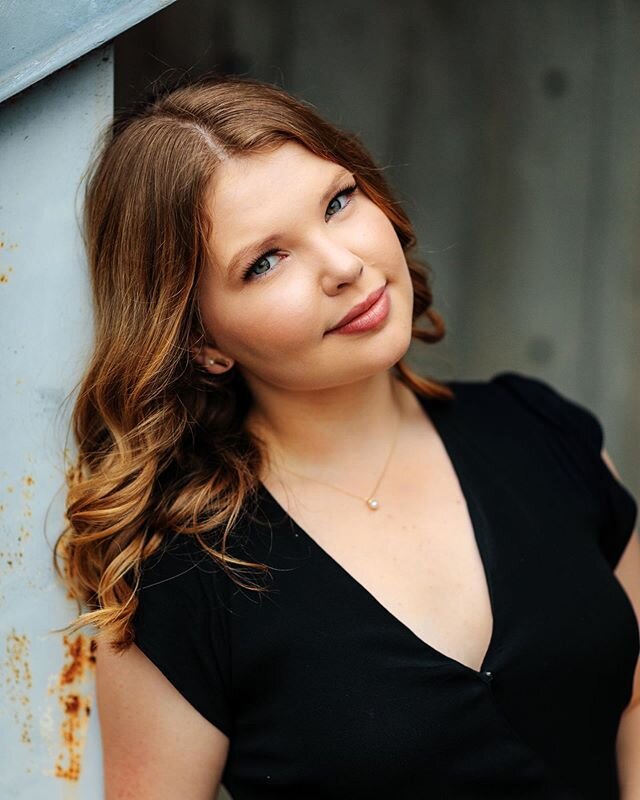
Canon 85mm 1.2, @F1.2, 1/1600, ISO 200 (25 images stitched together)