Panoramic Portraits

Today I'm bringing you photographer friends a fun tutorial! I rarely share these type of images, but whenever I do I get asked how I created panoramas with such shallow depth of field! This method was dubbed the "Brenizer Method" after photographer Ryan Brenizer made it popular, but many, many photographers have used this technique in similar ways over the years. So here's how it's done!

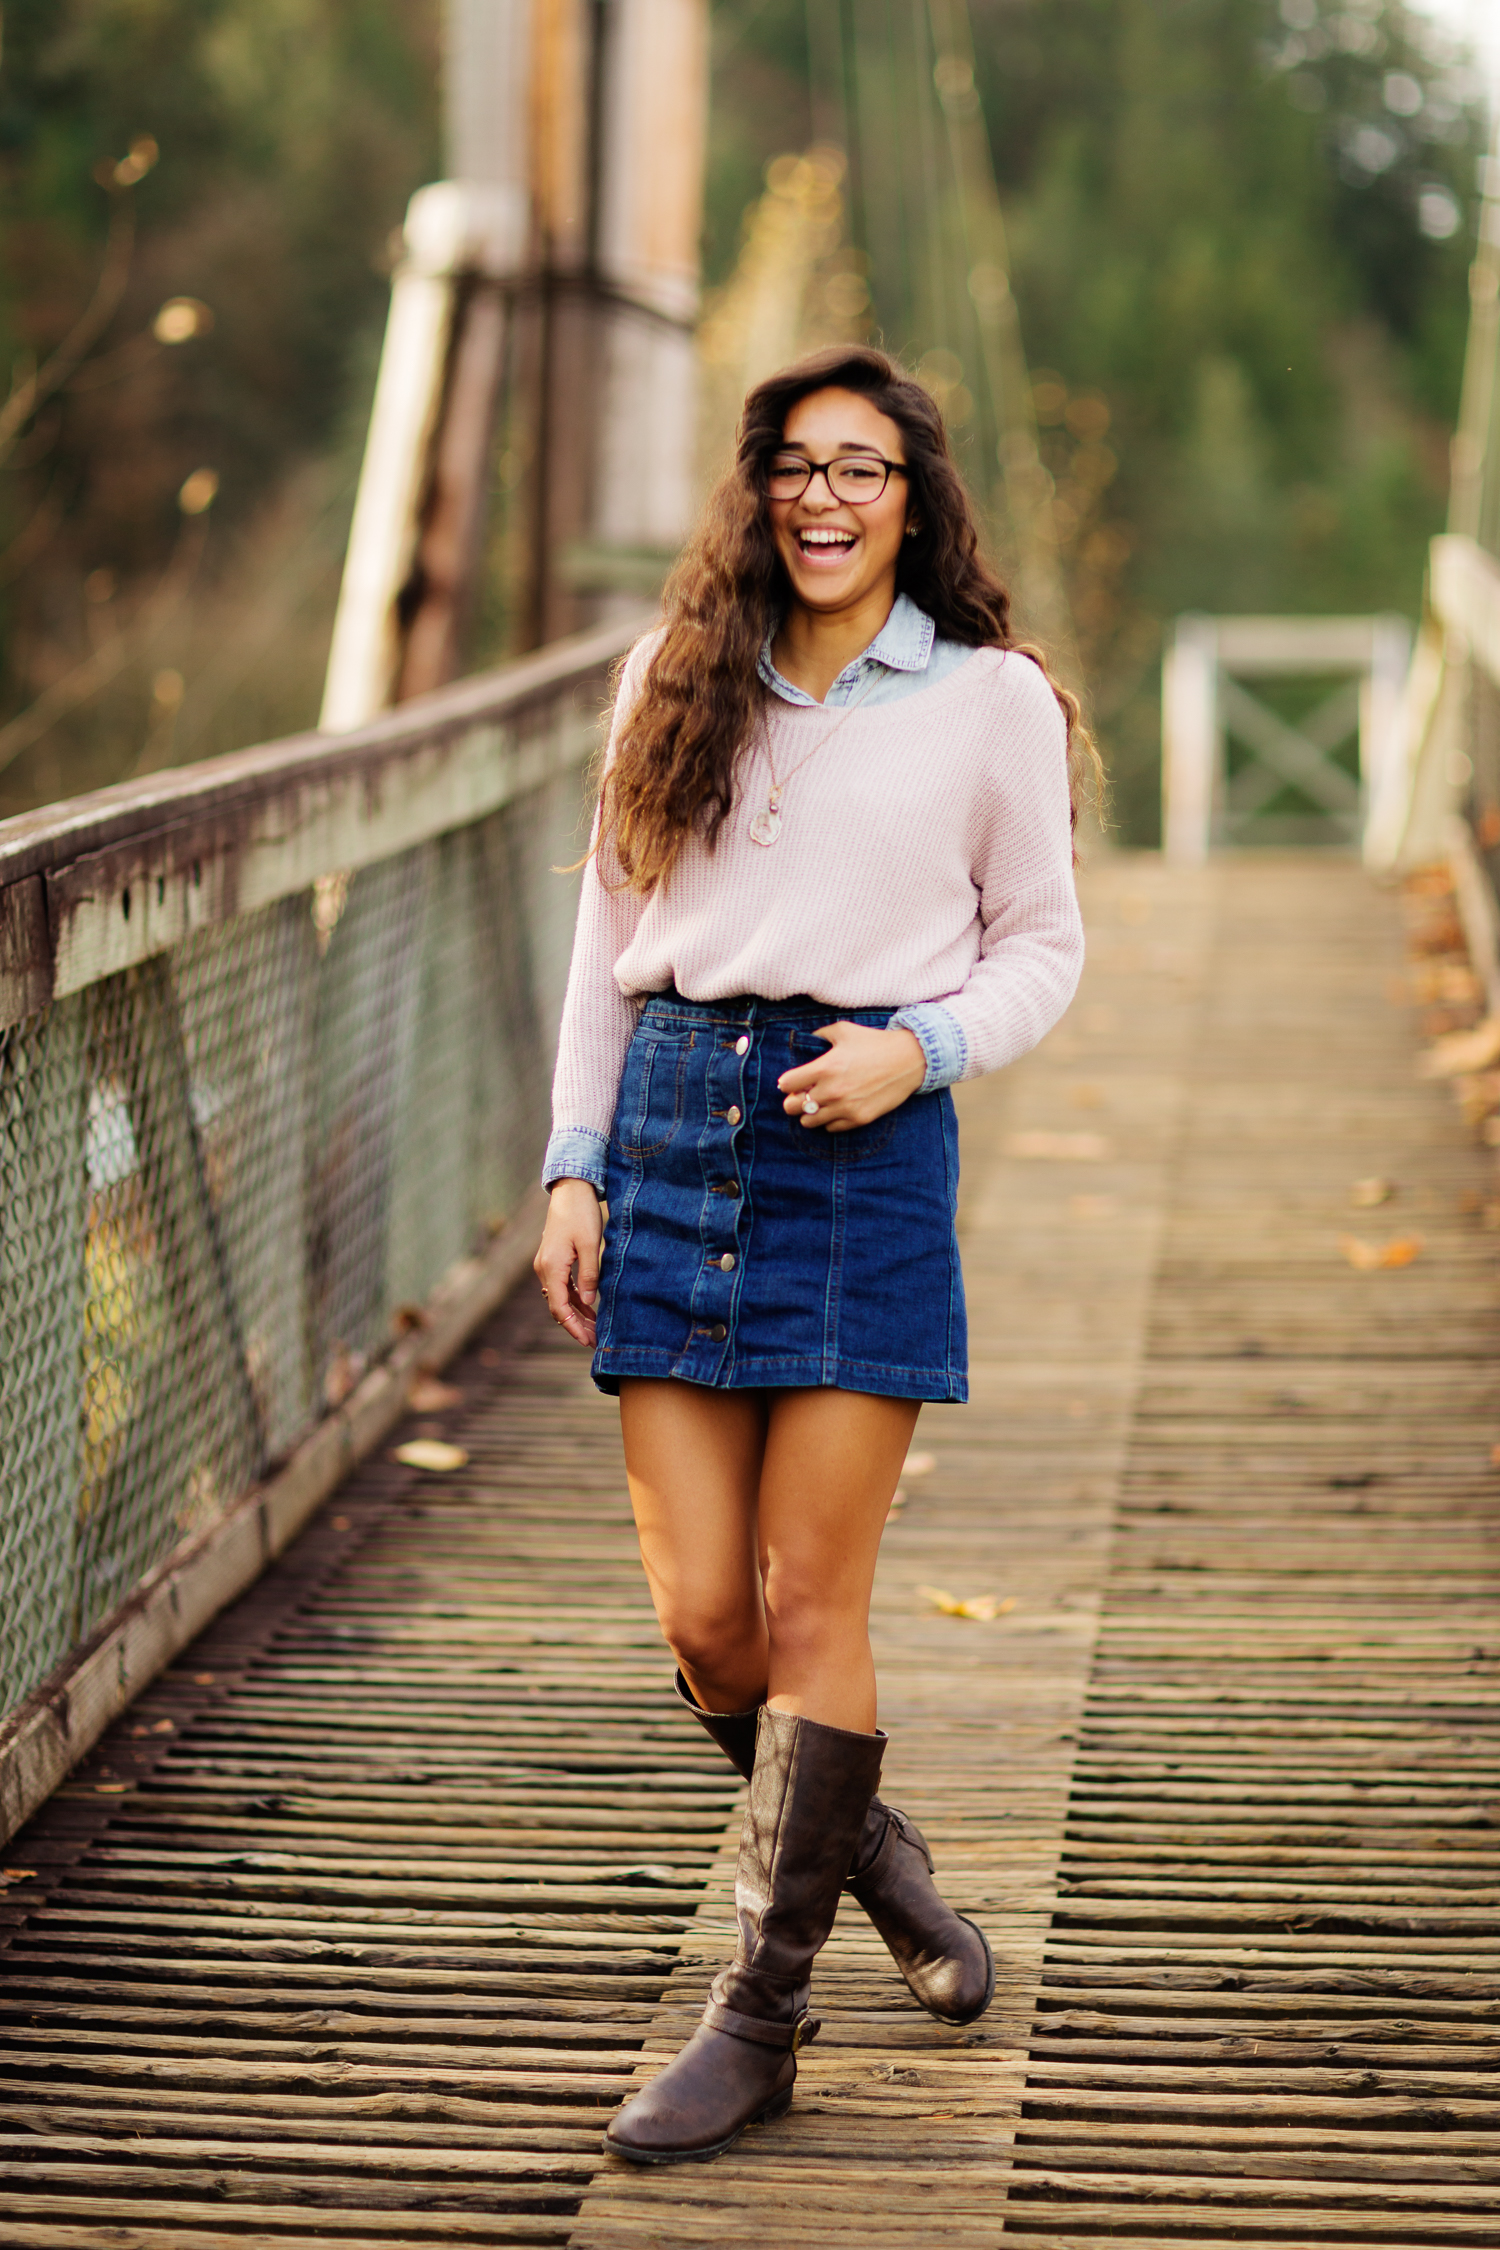
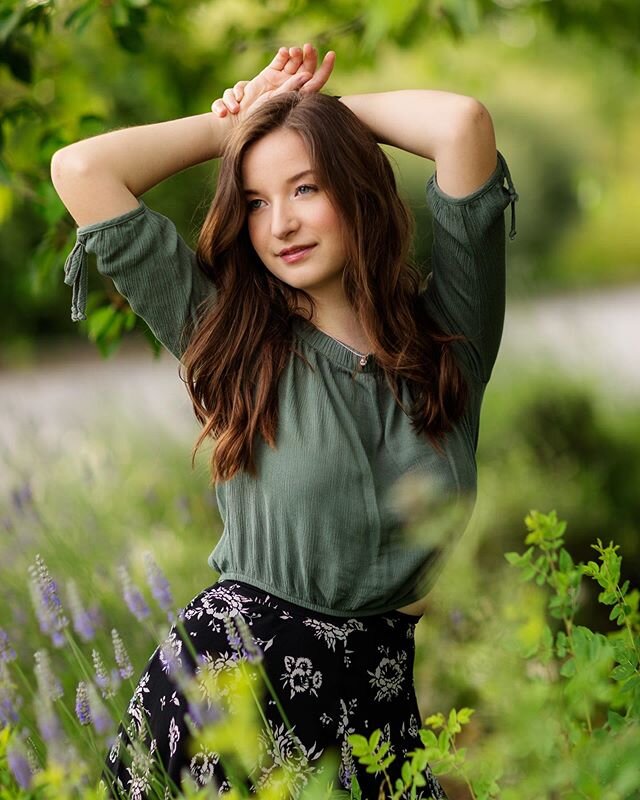
Canon 135mm @f2.2, 1/1600, ISO 400, (14 images stitched together)

Canon 135mm @f2.2, 1/1600, ISO 400, (14 images stitched together)

1. Set your aperture as wide open as it will go! This is how you get that magical shallow depth!

2. Pick an amazing scene! If you are going to do all the work to create a panorama, the scene better be worth it! I like to pick a scene like the one below that has lots of layers to show off the depth - branches hanging in the front and back, tall grasses at the front of the image etc.

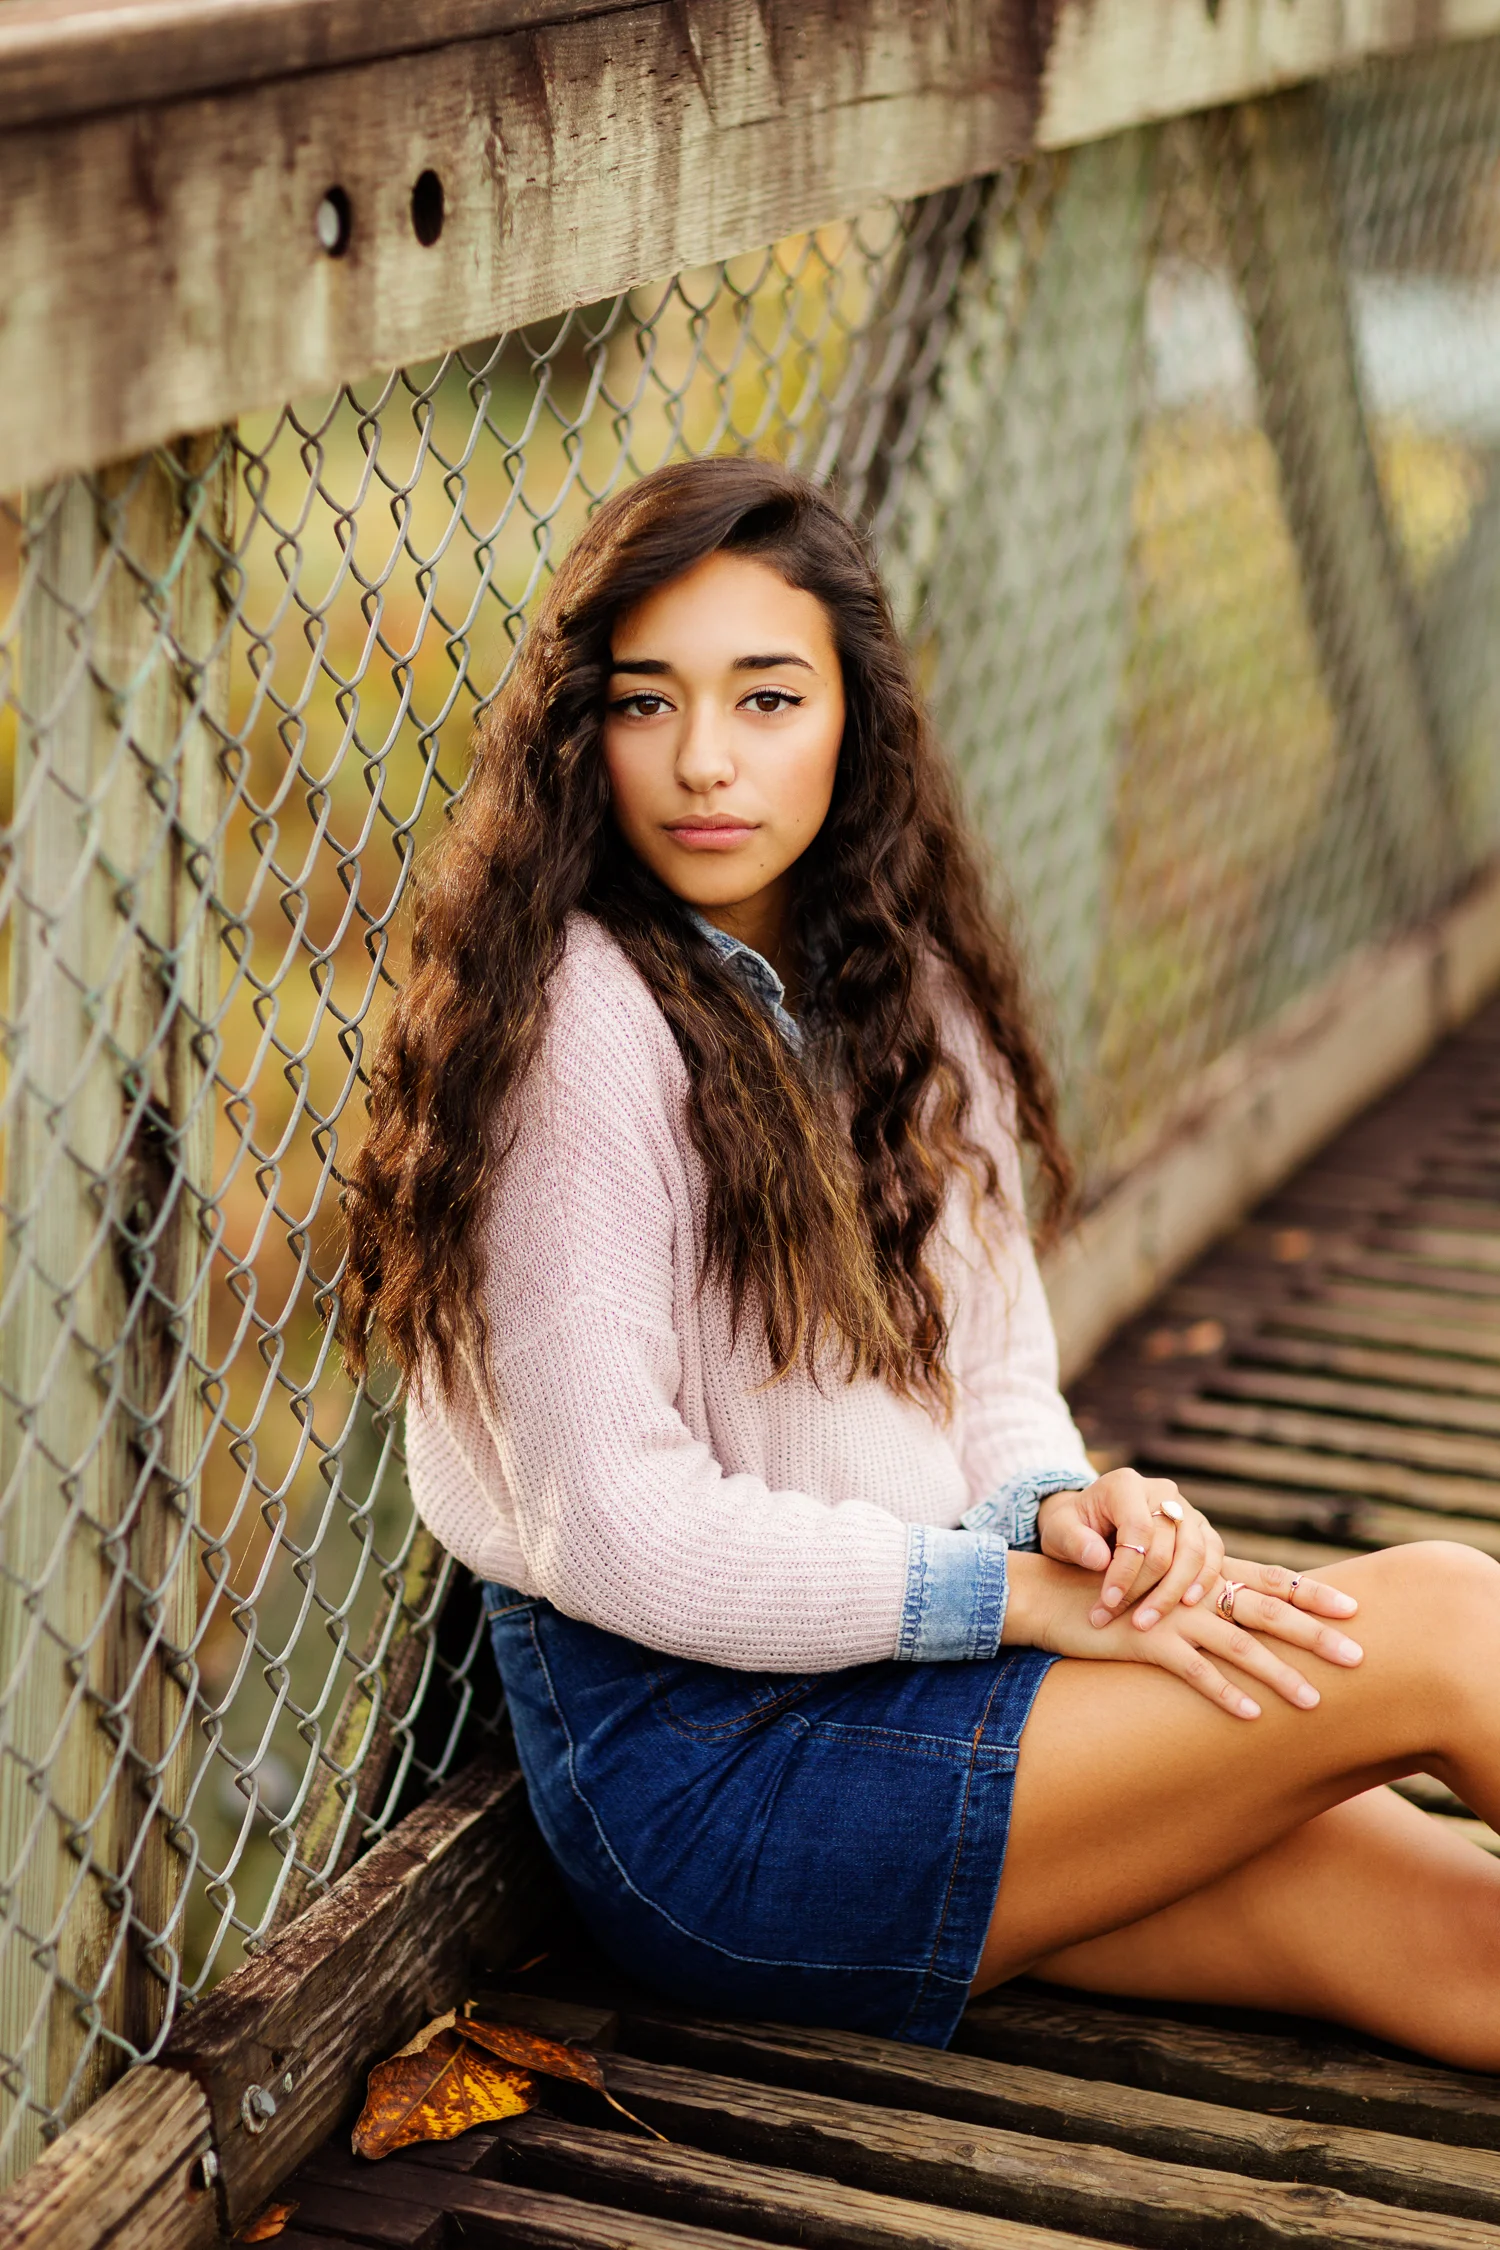
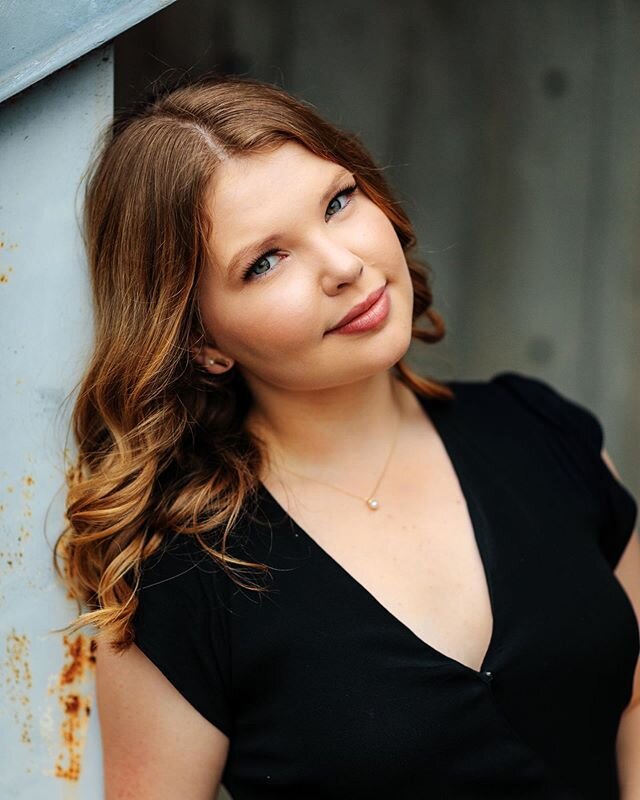
Canon 85mm 1.2, @F1.6, 1/1250, ISO 250 (30 images stitched together)

Canon 85mm 1.2, @F1.6, 1/1250, ISO 250 (30 images stitched together)

3. Make sure the scene doesn't have sun flare coming into the shot that will cause a haze or any artifacts that may move across the image as you create the panorama. Soft, even light is best!

4. Frame your human subject in the center of your first shot. Focus on your subject and lock your focus and exposure. If you shoot in Manual, you'll have no problem, but if you shoot in Aperture priority you will have to lock the exposure. You want each image in the set to have the exact same settings!

5. Once you've taken the first shot of your model, continue taking images of the rest of the scene, overlapping them by one third. There must be some overlap for your software to recognize which images go together. Make sure NOT to change any of your settings OR to re-focus! You want the focal plane to stay the same between shots!  It's best to shoot them in a sequential pattern - I prefer left to right, top to bottom. Your panorama can be as small as three images or larger than 30! Mine average 15 because I like to shoot three rows of 4 or 5. Make sure to capture a bit more of the scene than you think - you will need to crop the uneven edges later

6. Once you've downloaded your images, take them into Lightroom and synchronize your edit across all of the images. Make sure to turn on profile corrections to get rid of any edge distortion or vignetting. Export these images as smaller Jpeg files. Photoshop or Lightroom will freeze up if you try to stitch together too many RAW images. For a 30 image panorama sometimes I will export at a mere 6 inches wide. Since your final image is made up of all the images combined, it will be plenty large enough to print. The more images you have in your panorama, the smaller you will want to export your jpegs.

Image1.png

7. To stitch together your panorama, select all of the Jpeg images in Lightroom and click "Merge to Panorama". It may take a while to stitch them together, but once it is done, your final image should be ready! You will need to crop the image and possibly use your spot healing tool to fix any seams where the image may not have stitched smoothly. This one stitched together perfectly though! If you don't have Lightroom you can also open your files in Photoshop and find the option for stitching them into a panorama.

Image2.png

That's it! I hope you enjoyed learning how I create my panoramic portraits! If you want to see more tutorials and a list of the gear I use, hop over to my "For Photographers" page HERE.

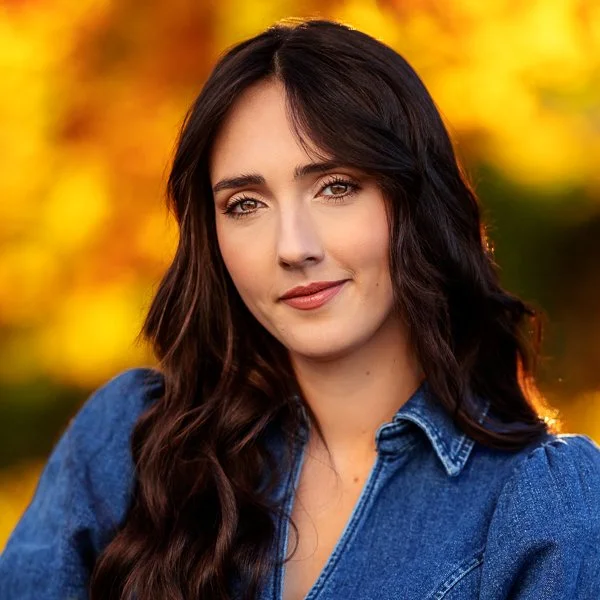
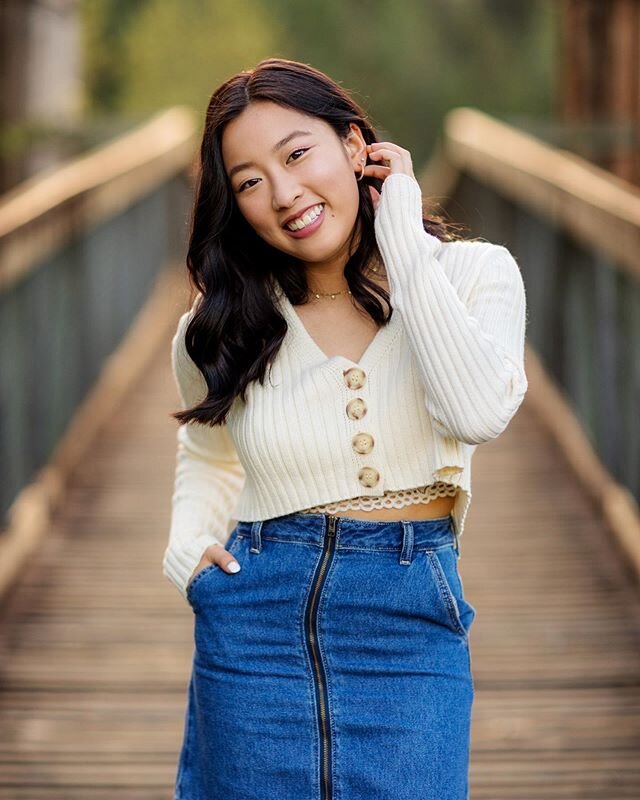
Canon 85mm 1.2, @F1.2, 1/1600, ISO 200 (25 images stitched together)

Canon 85mm 1.2, @F1.2, 1/1600, ISO 200 (25 images stitched together)

Kelvin Tutorial / For Photographers

Below is a tutorial I wrote for Delight and Be, a wonderful nonprofit ministry that hosts workshops, retreats and an online community that help young women in their pursuit of the arts! You can find more information at delightandbe.com

Shooting in Kelvin White Balance is pretty amazing! I can’t wait to show you how I do it so you can start trying it out yourself! Just like anything else - shooting in Manual, back button focusing or any other awesome thing you learn in photography, it will take a few tries to get used to. But once you do it’s so quick and so worth it!

First of all, what is Kelvin White-balance? Kelvin is just the name we use for manually setting color temperatures of an image. Every image has a Kelvin Temperature number that it was shot at, whether you let your camera guess the number on “Auto” mode, or set it manually yourself. Lower numbers (2000) make your image look cooler and higher numbers (8000) make your image warmer.

Here are some of the PLUSES of shooting in Kelvin:

1.) Color consistency between images is easier - no more random white balance all over the place that you have to adjust!

2.) It’s easier to get it right by looking on the back of your camera than to try and remember what it looked like and fix it later in Lightroom.

3.) The color looks beautiful on the back of your camera - this is a HUGE perk to me!  I’m not afraid to show an image on the back of the camera any more because I know that skin tones will be nearly spot on instead of looking like blue martians! It wows my clients and boosts their confidence to see a gorgeous image on the back of the camera!

As you can see from the image below, the SOOC (Straight out of camera) looks amazing! The left image is SOOC except for a basic curves adjustment in Lightroom that I apply to all my images (the back of your camera shows a jpeg preview with contrast added, so this is actually more like the image you and your client would see on your camera). The final image on the right has retouching and slight contrast in photoshop and a tiny bump towards green on the tint slider. I find my canon always shoots a tiny bit magenta. The image on the left is definitely stunning enough to show to a client!

4.) I personally am more accurate with creating the warm tones I’m trying to get if I start with a warmer image - if I start with a cool one my eye is thrown way off. In this image below I forgot to check my white balance and kept it too warm for my style. I still found it much easier to correct the image with a couple clicks toward the cool side than if I had started with a totally blue image in the first place. And it still has way more pleasing color than if I had shot it in “Martian Blue Auto”! ;)

Tips on HOW TO DO IT:

- Shoot in RAW in case you make a mistake
- I range between 5500-7500 Kelvin for daylight
- Indoor lighting is about 3000-4000 Kelvin
- Set your Kelvin, take a shot and then check your screen and see if you need to make the image warmer or cooler

Here’s a quick video showing you how to set your camera to Kelvin (I have a Canon 6D, so it may be different for you, but YouTube or your manual can help you find it on your own camera! I’d imagine that most Canon models are similar)

One last huge tip alert! If you set your camera to live view and then adjust the kelvin, you can see the color change on the live screen! I’ve done this a few times and it’s super handy!

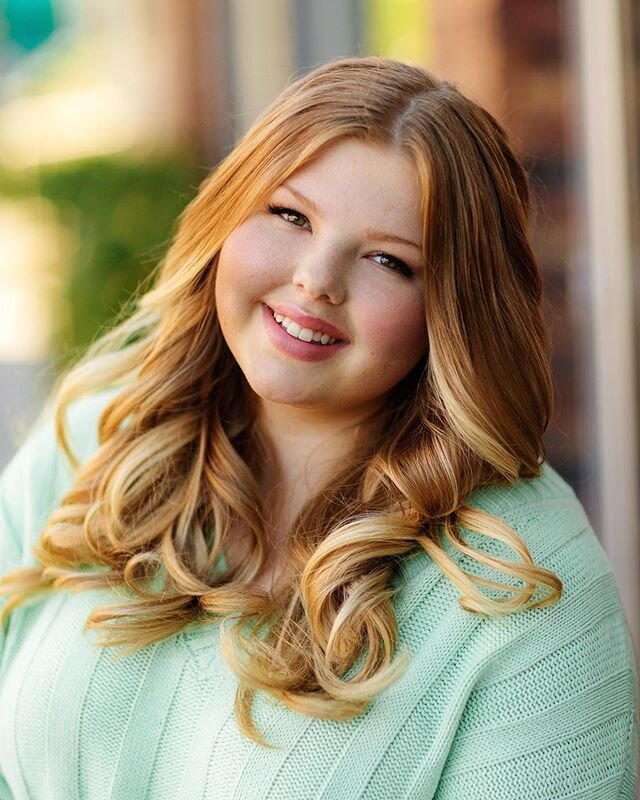
And here’s one last image below with all of my settings: (85mm 1.2 @ 1.8, 1/1250, ISO 200, 7300 Kelvin)