3. Make sure the scene doesn't have sun flare coming into the shot that will cause a haze or any artifacts that may move across the image as you create the panorama. Soft, even light is best!
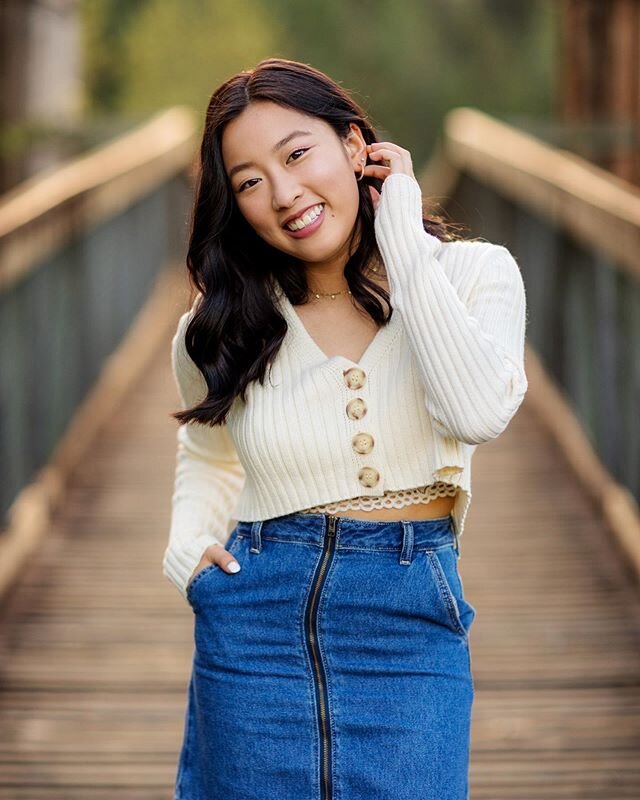
4. Frame your human subject in the center of your first shot. Focus on your subject and lock your focus and exposure. If you shoot in Manual, you'll have no problem, but if you shoot in Aperture priority you will have to lock the exposure. You want each image in the set to have the exact same settings!
5. Once you've taken the first shot of your model, continue taking images of the rest of the scene, overlapping them by one third. There must be some overlap for your software to recognize which images go together. Make sure NOT to change any of your settings OR to re-focus! You want the focal plane to stay the same between shots! It's best to shoot them in a sequential pattern - I prefer left to right, top to bottom. Your panorama can be as small as three images or larger than 30! Mine average 15 because I like to shoot three rows of 4 or 5. Make sure to capture a bit more of the scene than you think - you will need to crop the uneven edges later
6. Once you've downloaded your images, take them into Lightroom and synchronize your edit across all of the images. Make sure to turn on profile corrections to get rid of any edge distortion or vignetting. Export these images as smaller Jpeg files. Photoshop or Lightroom will freeze up if you try to stitch together too many RAW images. For a 30 image panorama sometimes I will export at a mere 6 inches wide. Since your final image is made up of all the images combined, it will be plenty large enough to print. The more images you have in your panorama, the smaller you will want to export your jpegs.